
For those who are reading my blog for the first time, I just started blogging a couple of weeks ago. I am blogging about all of the quilts I have finished to date sprinkled in with posts about my current WIPs. Today, I am blogging about the quilt I made for my mother-in-law.
Have you ever thought, HSTs are cool, but how can I change them up a bit? Well, there is always a ruler for that right?? :) For this quilt I used the Creative Grids ruler Curves for Squares. This ruler is amazing, the curves are gentle so pretty easy to sew - really! Here is a tutorial on the ruler. The ruler was designed by Karla Alexander and, in this video, she provides all of the information on the many different ways it can be used. I used various fabrics from the Cornucopia batiks line by Robert Kaufman, front and back. Here is the finished quilt:
 | |
| Can you believe this is the ONLY picture I have of this quilt finished :( no close ups of quilting, not even a picture of the back!! |

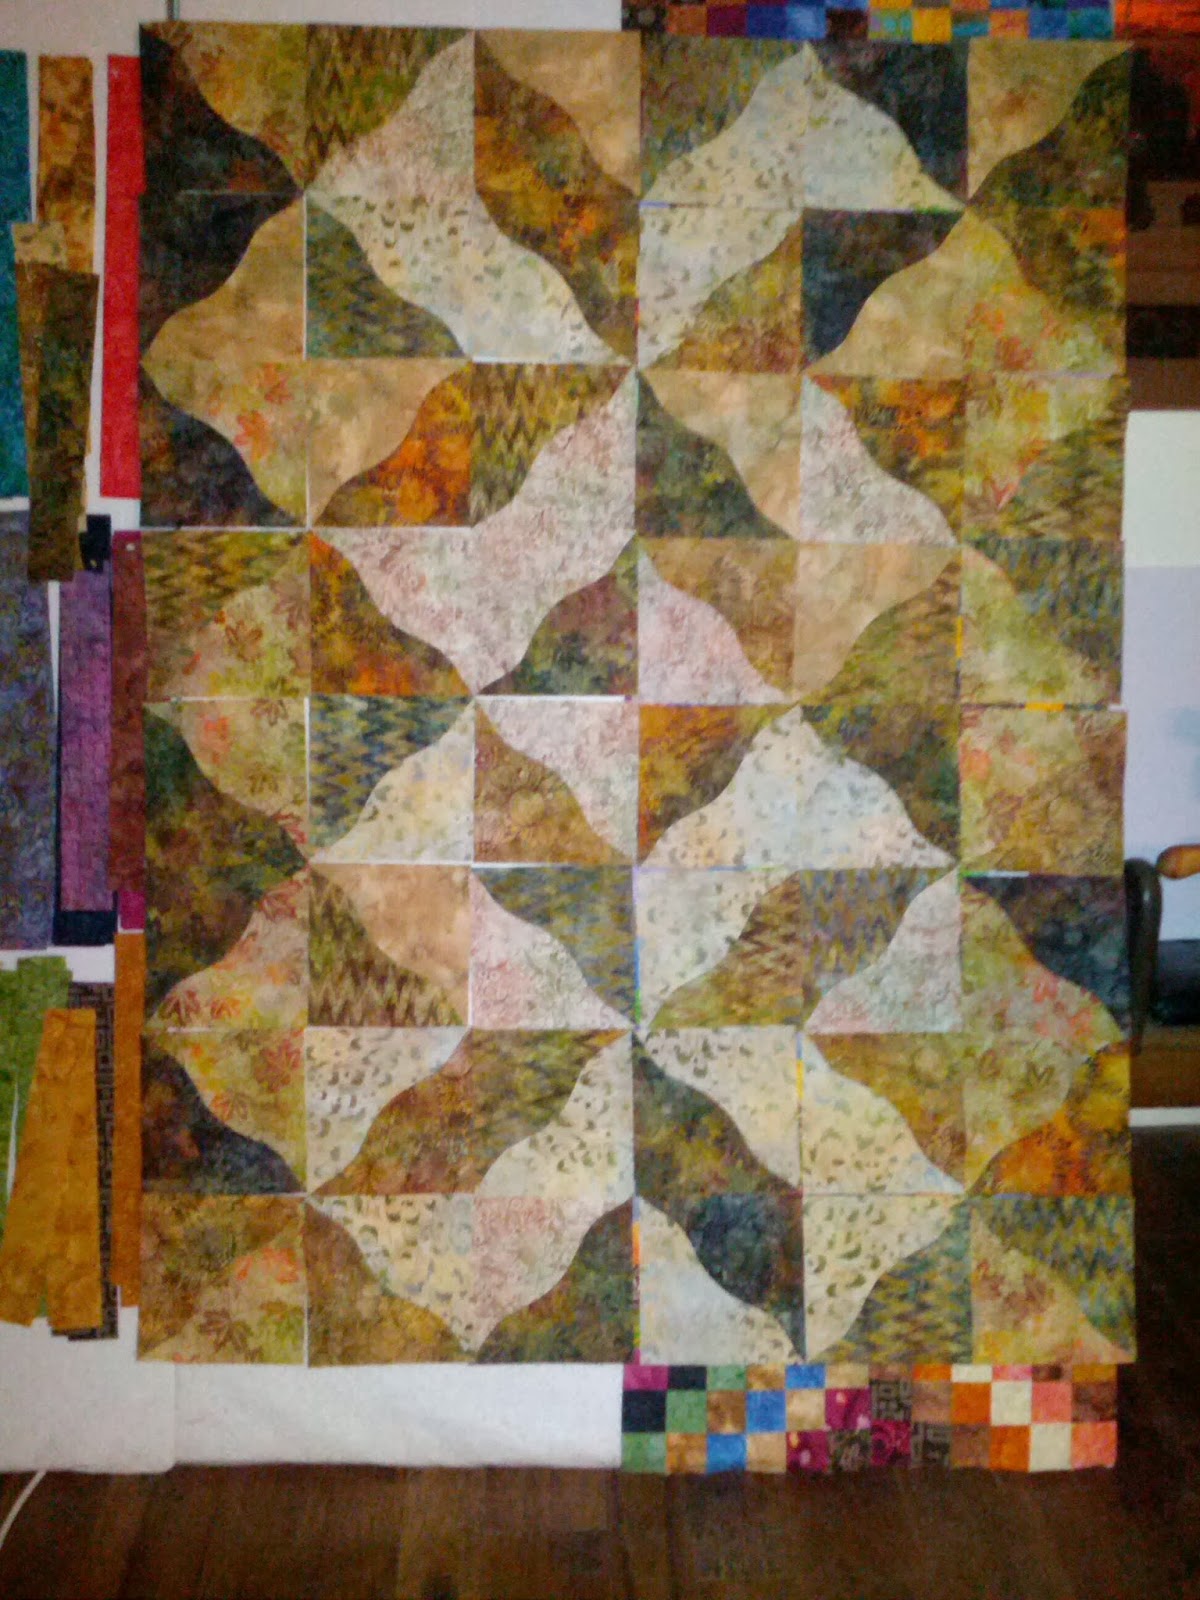


How cool is that?? The only problem is picking which one to go with!! In the end, I let my husband pick the final layout :) Also, one would think there would be a lot of waste and trimming. Not so! The ruler has markings for various sized blocks. I used 10" blocks to start and they squared up to 9.5," not bad!
So what did I learn in the process of making this quilt? First, I LOVE this ruler!!! I used my 45mm rotary cutter with no problem, cutting was a breeze! I do recommend a new blade though. Sewing the curves was not a problem. I watched the video above several times and did exactly as she recommends. The seams lined up perfectly! The pressing tips for curves are worth the watch even if you never use this ruler but are sewing curves. They start at the 14.40 mark in the video.
The other great thing about this ruler? When FMQing it, I used those curves as a spine for feathers!!! I wish I had a close up of the quilting :( the curves made for the perfect spine, I didn't do one mark on this quilt before I started quilting. Now that is a double bonus!!
When constructing the quilt, I really didn't have any oops, or I wish I would have done this. I went slow, took my time, used pins at the corners when sewing the blocks together and did not pull out the seam ripper even once!
Now the color grade of the fabric is another story. If I had it to do over again, I would pick fabrics that had more of a variation of light to dark. There are a couple of pairings in this quilt where the combo just blends together. This is something I struggled with in several of my first quilts.
The quilt finished around 62" x 72" and I used wool batting - it provided the perfect amount of loft to make those feathers pop! :)
I am linking up with Sarah over at Confessions of a Fabric Addict, TGIFF being hosted by That's Sew Julie, Finish it up Friday over at Crazy Mom Quilts and LAFF at Richard Quilts! Click on the links join in on the fun and see what everyone else is doing!


Until next time, keep on quilting!!
This is so great! I love the curves! What a fun tool. Thanks for linking up with TGIFF!
ReplyDeleteIt has great movement!
ReplyDeleteWhat a lovely quilt! It is great fun experimenting with the layouts, and sometimes hard to decide which one. Your husband definitely made the right choice.
ReplyDelete