
Close ups of the FMQ. I used this quilt as a large sampler for various different FMQ designs. If you are just starting out and want to machine quilt your own quilts, start with the first! No quilt is perfect and your first quilts are going to have some 'issues' so why not start quilting with the first? :) The more you practice the better you will become!


Lessons learned:
Precut fabrics are a wonderful way to start without having the headache of figuring out how to use that rotary cutter and mat and ruler and keep the cuts accurate! There is something very freeing about just sitting down and sewing :) The precut packages are wonderful for not having to really think about whether or not fabrics play nicely together - they just do!
This is a great quilt to make to get lots of practice in sewing straight 1/4 inch seams! The best part, if you mess up a little and the lines get a little wobbly, it doesn't matter too much. This is a very forgiving pattern in terms of sewing accuracy.
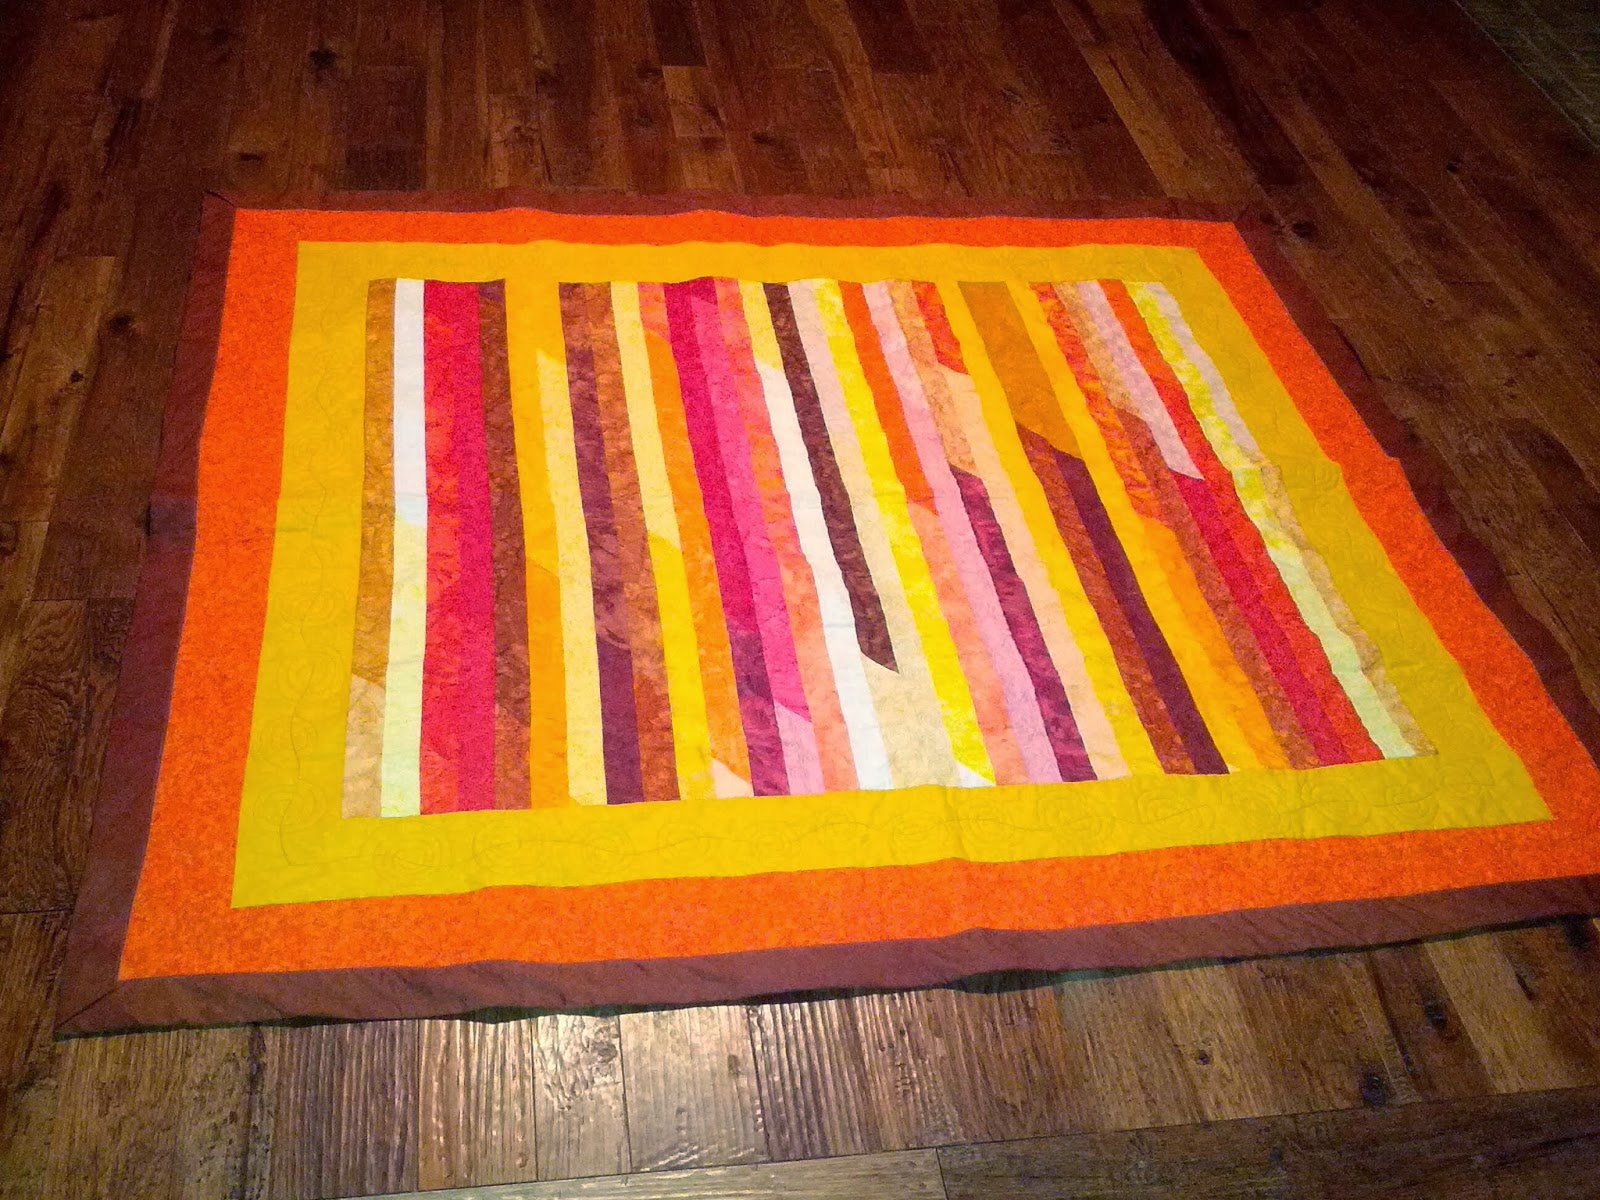
Major lesson on binding with this one.... I have a real problem with following 'rules.' I have tested many and on this quilt I wanted to tone down that yellow and orange border a bit with a thick brown binding. How bad could this turn out? Well, I cut the binding strips 5" wide.... (yes, I hear the gasps and now totally understand why the woman at the cutting table looked at me over her glasses and said "We typically cut binding strips 2.5" wide" when I told her I wanted enough fabric to cut binding strips 5" wide. I responded, yes I know but I am cutting mine 5" . . . She did not say another word LOL) You probably don't want to cut your binding strips that wide and if you want to tone down a border, adding another might be the better way to handle the situation. Keeping the binding flat when it is that wide is a nightmare. Folding the mitered corners as you are machine binding is tricky at best. If you are using your machine to sew down the binding (and I always do), there will be a very noticeable stitch line on the back of the quilt. Not always a bad thing, might add some character to the quilt but if you are looking to hide that binding stitch line, this is not the way to do it!
I did mitered corners on the borders of this quilt. I looked everywhere and all of the tutorials seemed to be missing the explanation of how one figures out how much longer the boarder strips need to be to complete a mitered border. The down and dirty quick answer is whatever the width of your fabric, cut the border length at least that much longer (a half inch more will give you some wiggle room). I will have a tutorial page up and running very soon. I will post links to several tuts on mitered corners to help you.
Deciding on a design for FMQ is not easy! I found myself getting bogged down with trying to figure out the perfect design. In the end, I decided that the quilt was initially intended to be a 'sampler' of designs so I would just go with that initial intent. It turned out well!
Do NOT let small puppies anywhere near your prized quilt! This was a hard lesson learned :( I still have not figured out exactly how to fix the huge 'hole' he chewed on the side of the quilt - there is about a 5 inch 'square' completely missing including binding and border!
And now, as promised, here is a link to the video tutorial for this quilt that hooked me for good! I could not stop laughing and Jenny has so much fun doing this tutorial, how could I not try it? :)
So here is Jenny Doan from Missouri Star Quilt Co showing how to make the JRR quilt: http://www.youtube.com/watch?v=2bEJLnaZQOU
I have done several quilts based on Jenny's tutorials. My next post will be another quilt from one of her tutorials. This one said 'quick and easy' . . . we'll see about that :)
Until next time, keep on quilting!
