
First, I decided the narrower the starting strips were, the easier it would be to manage. I think this was a wise decision (I conferred with my engineer husband on this and he agreed so I knew I was headed in the right direction haha). So I cut the strips at 2 1/4 inches.

Sew your strips together. I sew mine together at an angle to reduce bulk. I also iron those seams open (GASP) to further reduce bulk. I have had questions about how I do my labeling on the binding - this is where I do the monogramming on the binding. I hold the binding up to the quilt, figure out the approximate position as to where I want the label to fall and pin it to mark the spot where to start the monogram. I use thin papers as a stabilizer when I do the monogramming.
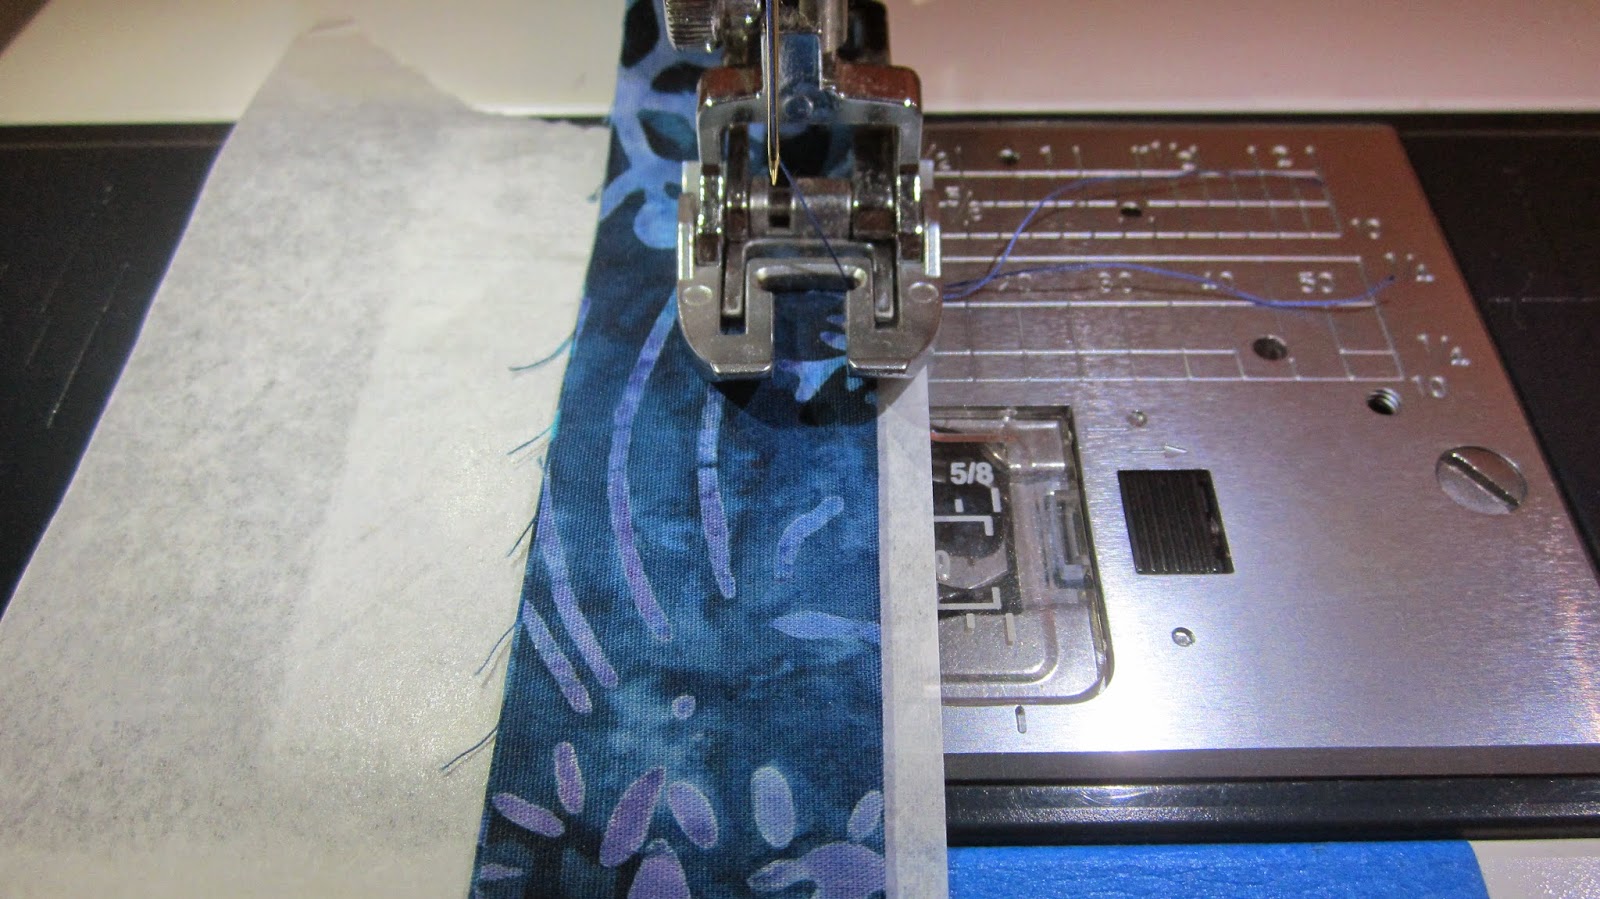
I use my walking foot. I've tried the other foot - I find using the walking foot reduces the 'bunching' that can happen when doing monograms. As you can see in the photo, place the folded side of the binding to the right. I position the material so I can just barely see the edge of the binding peaking through the edge of the opening in the middle of the walking foot. I find this gives me the perfect distance to be able to put my stitching for the binding (I machine finish my binding). As far as what I put on my label - it depends on who the quilt is being given to and the occasion, if there is one. Examples might be "Happy Birthday X Stitched With Love by Judy 2014" or "X's Quilt Stitched With Love by Judy 2014"

Depending on binding and thread choice, the 'label' will be more or less visible. I have done quilts on which the label was very visible and others, like this one, are less visible.
When you set your desired wording - check it five times for spelling. . . ask me how I know this. . .
 |
| Nuff said! :) |
I sew the binding on the back of the quilt first. Mark your seam lines (1/4 inch) in both directions.
 |
| Bad marking job.... I have issues with Frixion pens! |
 |
| This is an angle that is like this > (pointing out) . . . :) |
 |
| This is an inverted angle or < . . . see the edge of the quilt to the right of the binding. |
 |
| I put a pin back far enough that it is not going to get hit by the needle and I leave it in when I start sewing to hold everything in place. |
 | |||
| Sorry about the size of the wording in the picture - I was pretty impressed with myself to even get it in there LOL |
 |
| This one is a little better in terms of font size :) |
On the inverted angles, I found that the more I played with where that fold ended up, the better it looked when the binding is attached to the front. Get that fold as far down as you can, the outside edge of the binding is going to flip up, you want it to, the more it flips up, the less material you are going to have to deal with when you flip it to the front.
Again, for both types of angles, I put the pin in to the left of where the seam would be so I could leave the pin in when I started sewing. I marked with a marking pen the exact spot where I ended the previous seam and then put my needle down in that spot. This is where you want your seam to start. Then continue down to your next angle :)
I just realized that I did not take any pictures when I was sewing the binding on the front :( I'm going to try to talk you through this... For the angles pointing out, you will be able to fold the material in the same way that you do with a 90 degree angle to get a mitered corner. I read a tip somewhere once that if it doesn't look right when it is folded, try starting with folding the other side down first. I have found this to be very helpful.

 |
| I promise I had not been drinking when I sewed this down LOL |
 |
| Nice Miter, if I do say so myself! |
 |
| Nice miter on the back |
 |
| The fold on the front is even with the edge of the quilt which I decided was good enough in the end. |

 |
| I think maybe you can see more clearly on the back where I turned the quilt and started stitching down the other side of the angle. |
Overall, I'm pleased with the result! I will say this, I am doing the triangle quilt along and I will NOT be doing this again on that quilt... It's just too soon LOL
Linking up with Lorna over at Sew Fresh Quilts for Let's Bee Social and Lee over at Freshly Pieced for WIP Wednesday. Thursday linking up with My Quilt Infatuation for NTT and Pretty Bobbins for I Quilt Sew She Can for Show It Off Saturday and My Go Go Life for SewJo Saturday.
Until next time, keep on quilting!!

This looks great! But I think I will stick with the regular corners and corners that stick out! I'm a chicken, I know. ;)
ReplyDeleteI may need to refer to this tutorial in the very near future. The triangle quilt I am planning for the quilt along is going to have those innies and outies to deal with, too! Thanks so much for sharing, Judy!!!
ReplyDeletewow! thanks for showing us how to manage those tricky corners! I've never attempted that before!
ReplyDeleteThanks so much for showing this off at Needle and Thread Thursday!
:) Kelly @ My Quilt Infatuation
I love the labeling wrote right into the binding. I need to try that sometime!
ReplyDeleteTHANK YOU FOR THIS TUTORIAL!! I needed it! And the wording...awesome idea! I'm going to try it as my machine does words too!!!
ReplyDeleteThanks for the tutorial, I might be brave and try this! Do you cut your binding on the bias or straight?
ReplyDeleteThanks!
Your welcome, Samantha :) Great question, totally forgot to say, no I did not cut the binding on the bias.
DeleteI like your 'check five times for spelling' hint! Every time I go into my local sewing machine shop (for machine services, extra feet, etc.) I see the misspelled shop samples they have made on their fancy embroidery machines. They crack me up!
ReplyDeleteThe idea of labelling the binding is brilliant.
I have always wanted to try labelling the binding. Any tips?
ReplyDeleteHello mate, great blog
ReplyDelete