Friday, March 21, 2014

It's Here! Triangle QAL!

It's Friday and it is the official start day of Sassy Quilter's Triangle Quilt Along! YAY!! I bought my fabric a few weeks ago from Pink Chalk Fabrics.  I did some checking, they had a huge selection of Kona solids and (most importantly) they had every single color on which I had my sights set!  When the package came, I wanted to start cutting!! But alas, I did not.  I was in the middle of piecing the Log Cabin Triangle quilt top and getting ready to quilt the Double Pinwheel quilt (which is done, YAY!) so I had to stay focused - this is not an easy thing to do when one has a stack of fabric that looks like this staring at them!!


All beautiful Kona solids in mainly beautiful hues of purple (my personal favorite color) and a few blues and pinks thrown in for good measure :) Here are the colors from left to right:

Blues: Peacock, Azure, Aqua
PURPLE :): Grapemist, Lavender, Violet, Lupine, Lilac, Thistle, Petunia
Pink: Candy Pink, Azalea, Camellia

I will have them all starched and ready to cut next week!! I am going to be using the Creative Grids 12" 60 degree ruler.  No, I'm not going to make 12" triangles but it is the ruler I used for the Log Cabin Triangle quilt and cutting the smaller triangles for the center in those 'blocks' was a snap.

I am still quilting the Log Cabin quilt.  It is looking awesome! Want to see a peak? Well, OK, but just a peak :)

Never ceases to amaze me how quilting changes the look of a quilt top!!

When I decided on the quilting for this, I thought it would go pretty quickly. . . not so much! The quilting is pretty dense on this one and there is a lot of ditch stitching - I can think of other names for it! grin I am doing everything, including the SID with the free motion foot.  I have been quilting pretty much all day for two days. . . It has been awhile since I did quilting in free motion and I have to say - I am having a blast! And as I go along, I can see improvements from triangle to triangle.  This is good! :) I really need to start putting aside a little time each day to just practice FMQ when I am piecing.  Keep those skills toned :)

I am off to finish quilting! I am really hoping to have this finished binding and all by the end of the weekend :) Stay tuned for the big reveal! 

Linking up with Paula over at The Sassy Quilter for the fabric selection portion of the QAL.and Kim at My Go-Go Life for SewJo Saturday.

Until next time, keep on quilting!

Follow on Bloglovin

Tuesday, March 18, 2014

QOV Quilt

Hi All! I just finished the blocks for Kevin the Quilter's QOV block drive :) Link is here - these blocks go together FAST.  OK, I went a little overboard, and just made a quilt top.  This was fast, easy and I have to say the quilt angels totally watched over me because I had no issues with cutting, no issues with getting to the end of the fabric and having major differences in length AND when I sewed the blocks together there is maybe one seam that isn't as close to perfect that one can come! Here it is:


I don't know if Kevin planned it this way but check this out - from a yard of material you can get 9 11x12.5 inch rectangles and 6 12x2.5 inch strips.  Another 3/4 yard of the fourth color will give you the three blocks and the remaining 12 strips needed.  Or it can be mixed up more.  I had a hard time finding a gold that I wanted to use - most of what I found was too yellow (for me) or too baby poopy looking (IMHO).  Bad visual, sorry.

Off to quilt the Triangle Log Cabin! I am totally going to be ready to start the triangle quilt along on Friday - I am on a roll! :)

Linking up with Connie over at Freemotion by the River for Linky Tuesday, Quilt Story for Fabric Tuesday, Lorna over at So Fresh Quilts for Let's Be Social, Lee over at Freshly Pieced for WIP Wednesdays and Kelly over at My Quilt Infatuation for NTT.

Until next time (with a picture of the triangle quilt finish!!!!! Woohoo), keep on quilting!

Follow on Bloglovin

Saturday, March 15, 2014

Double Pinwheel, DONE

Hope you are having a great weekend! I finished up the double pinwheel quilt I blogged about here, and here and finally here I posted a picture of the flimsy.  In those posts I complained a bit about the process. . . but now that the quilt is done, I have to admit, it really wasn't that bad. Kinda like having a baby, never doing it again right after and then a few weeks/months down the road, you forget.  OK, probably not the best analogy ;) 

I decided to quilt this with a big spiral.  I have not really figured out how to keep those darn rows closer together!  I think part of it is that the quilts I have done this on are gifts, I want them to be soft and cuddly and when the rows start sneaking out further and further I decide that's OK... And maybe I don't really feel like ripping stitches. . . probably more that! Anyway, it did wander out as much as two inches but I think it still looks good.  And I quilted this in one day.  Not bad.  I did a double heart in the borders.  I was going to keep going with the spiral and then decided I wanted to add a little something FM on the quilt.  

I also used this binding method.   I have seen many quilts around blog land using this method and I thought this quilt would look super cool with the dark pink binding and the light pink flange.  I decided instead of quilting in the ditch I was going to do more of a top stitch.  I'm kinda into that look these days and to be honest - I'm just not that good at staying in the ditch.  This method results in a very cool look - but be forewarned - it takes more time than regular binding.  Not that that is a bad thing, but of you are working on a project that you want finished very quickly, you might not want to consider this method.  I think the result was well worth the extra time it takes to sew everything together.  

OK, I've rambled on long enough, here are the pictures! :) and a little more info on the quilt follows.

All washed and crinkly :)

LOVE the light pink flange on the binding!!!

See how that spiral just kept getting wider? . . .


Totally digging pieced backs! I NEVER thought I would say that!!! :)


I always put my 'label' on the binding - very subtle in this case but it is there!! :)


Quilt Size: 53" x 64"
Pattern: Pinwheels in the Park by Sew Mamma Sew Side note, I did use wider sashing on the vertical, I wanted the quilt to be wider and thought that was my best bet.
Fabric Front: I'm not going to be able to give specifics on this as most of it came from my stash... The prints are all Kaffe Fassett.  The dark pink solid is a Bella Solid by Moda but unfortunately when I bought it I did not look at the bolt to see the color name.  The light pink solid in the double pinwheel is also from my stash. . . I really wish I could remember where I even bought this from because it is cotton but very much looks like linen. . . . I could 'use' about five more yards of it in my stash!
Fabric Back:  The print is Kaffe Fassett, the large bright blue is Handspray by RJR, the pink is Wovens by Moda and the one lavender is Suede by P&B Textiles and honestly, I don't even have a guess as to what the other one is. . .  
Batting: Quilter's Dream Wool (I just can't stop using this stuff!!)

The lesson I learned in making this quilt, that hopefully stays with me the longest, is don't freak out completely when something is not cut right. . . . I had a little issue with cutting a couple of the squares too big for the light pink triangles.  Of course, I started sewing on that side of the design wall... and that resulted in my throwing a fit (not really but I did stick my tongue out at it several times) and not sewing anything with this quilt for a day or two.  I jumped to many conclusions immediately upon finding the oops - ALL of them were cut wrong (no, only a total of 8 triangles or two blocks), I'm going to have to recut everything (no, just two squares) and I should try creative sewing (OK, sometimes this is an option but I really think when dealing with this type of pattern - that's really not a good idea).

I also learned that my belief that because I soak (yes, soak) my fabric with starch and let it dry almost completely before ironing, I really am preshrinking my fabric. . . I had originally planned to use the pink fabric on the back as the sashing fabric for the front.  I starched the bejeezus out of it, let it mostly dry and ironed it - it shrunk FOUR inches!  I had measured it before starching it because I knew I was going to be just barely squeaking by in terms of having enough.  When I put it back down on my cutting table, I was shocked, and had a good reason to go shopping at the LQS :)  Ummm, OK scratch that - the fabric may shrink when it is soaked with starch BUT I just pulled the quilt out of the dryer - it now measures 53" x 64" . . . That's another FOUR inches!!! Seriously? I am shaking my head.

The other thing I kept thinking as I was sewing the blocks together was - I need to find a tutorial that goes through not how to make HSTs - but how to sew them together and keep those corners! I got lucky on some, not so lucky on others :) Is there an 'easy' way to do this?? If you know of a tutorial or have a trick you are willing to share - I am all eyes and ears!!  

Linking up with Richard and Tanya Quilts for LAFF, Show It Off Saturday at Sews She Can, SEWjo Saturday at My Go Go Life, Stitch by Stitch for Anything Goes Mondays, Patchwork times for Design Wall Mondays, Connie over at Freemotion by the River for Linky Tuesday and Quilt Story for Fabric Tuesday. If you are here from there, welcome! And if you need a good dose of inspiration - go check out what others are doing :)

Going to be working on QOV blocks this weekend (link on top right sidebar).  And then on to quilt and bind the Log Cabin Triangle quilt! Yay :) I gotta get going, Friday is the beginning of the Triangle QAL at Sassy Quilter! The button is at the top of the right side bar, if you haven't already checked it out, hop on over and join the fun!

Until next time, keep on quilting!

 Follow on Bloglovin


Wednesday, March 12, 2014

Triangle Flimsy DONE :)


A quick post, have much to do today ;) Wanted to show you all a couple of pictures of the triangle log cabin quilt flimsy.  I wondered if I could pull this off but I think the flimsy turned out well :) I'll post in much more detail when I get this baby quilted :) I previously blogged about it and even did a tutorial on how to make the blocks.  Did you know that even if there is a slight breeze it is next to impossible to take a picture of a flimsy??? LOL Here are two of the seemingly 100 pictures I took :)


Again, it is so hard to get a decent picture of the Oakshott cottons.  I have to say - I really really liked working with them.  They are a little heavier than Kaffe Fassett shots.  

One more thing, I read this post this morning.  It is titled "How a Quilt Became a Life Raft."  I encourage you to read it.  An amazing and inspiring story.  

Linking up with Lorna over at Sew Fresh Quilts for Let's Be Social, Lee over at Freshly Pieced for WIP Wednesday and Kelly over at My Quilt Infatuation for NTT.

Until next time, keep on quilting!

Follow on Bloglovin

Monday, March 10, 2014

Just Another Manic Monday

80s pop anyone? :) 

It feels like a manic Monday! Soo much going on!  

First up, I'm very excited about participating in the block drive for QOV being hosted by Kevin The Quilter.  You'll find the button on my right sidebar at the top, I think this deserves top billing :) I have the fabric on order (this was a GREAT excuse to go shopping!!) and need to get the two quilts I am working on finished. . . hopefully this week. . . unrealistic? Maybe. . . ;)

Back to the block drive.  If you have ever thought about doing a QOV quilt, or somehow getting involved with this wonderful organization, this is a great way to get involved by making very simple, quick blocks.  Simple and quick with an amazing resulting quilt!  Kevin is asking for 5 blocks minimum from each person contributing.  There are prizes too :)  Head over to Kevin's blog and get the details and consider putting the button on your blog to spread the word. 

Second up, I'm just as excited about deciding to join the Triangle QAL over at the Sassy Quilter.  The button is on my left side bar - if you haven't already, consider joining in the fun! Yup, I am doing another triangle quilt - these things are addicting! I have acquired the fabric. . . of course I have LOL, here it is:


I'm thinking maybe the middle pink, second from the right might not work. . . Thoughts?
All Kona in hues of mainly purple, a little blue and some bright pink.  I'm still wavering on the pink... What do you think? Maybe a lighter shade? The QAL doesn't start until March 21st, so I have time to change it up (and buy more fabric lol). . . and you have time to clear your decks and join the fun!! :)

I am planning on piecing a second quilt while I am doing the QAL.  This one is going to be what might be considered a fractured log cabin? You know the one, the logs start around a square, the middle squares are various sizes so the resulting square out of four blocks put together looks fractured.... This one is going to be done in yellows and oranges.  I'll post a picture when the fabric arrives, I bought some new and will be using some from my stash.  I'm trying to figure out a third color to add that is not red. . . suggestions welcome!

On to the Triangle Log Cabin top.  I decided I needed to add another row on the vertical and add the pink/maroon color triangles.  Sewn together the way it was it would have been just shy of 50 inches wide where the triangles meet at the points on the outside.  I want this quilt to be functional as well as way cool :) I'm still pondering the binding. . . I know I can make the corners where the bottoms of the triangles meet, I'm just not sure about where the points meet. . . If you have any suggestions on how to work this out - I am all ears!  Here are a couple of pictures as it stands now, not great, it is indoors but you get the idea.  Six blocks to go.... :)  I should be able to knock them out today and maybe even get this baby sewn together today.  Stay tuned - as soon as it is sewn together I'll take it out for some outdoor pictures :)


Linking up today with Marelize over at Stitch by Stitch for Anything Goes Mondays and Judy over at Patchwork Times for Design Wall Monday.  Will also be linking up with Connie over at Freemotion By the River for Linky Tuesday and Quilt Story for Fabric Tuesday.  If you are here from there, welcome! If you haven't been to any one of these fab parties, head on over and join the fun :)

Until next time, keep on quilting!

Follow on Bloglovin

Friday, March 7, 2014

Whirlpools

It is Friday again and I don't have a new finish to show but I did want to share with you a quilt that I finished before I started blogging that I call Whirlpool.  I'll share that momentarily but since I have not posted since Monday, wanted to share a brief (I said brief before I started writing. . . it's not exactly brief haha) update on the triangle quilt.  It has been what I consider slow going.  Others likely would not think that two weeks was a long time to finish a flimsy. . . I do :) A couple of things that have slowed down the progress:

1. I am figuring out color placement as I go.  I'm not sewing the blocks together and then trying to figure out a pleasing arrangement at the end.  I kind of like this process but it means that all of that agonizing I do at the end is now happening before I cut for each new block.  

2. Notice I said in #1 "before I cut each new block." Yup, I'm cutting as I go.  We all know it is much quicker to have everything cut (jelly rolls, charm packs, layer cakes anyone?) prior to sewing. 

3. See #1. . . really, it deserves two bullet points because it is slowing me down that much.  Which is more about me and my indecision!  I think this might not take as long the more I do it.  And yes, I will definitely do this again.

4.  Making the middle triangles different sizes.  This means I have to figure out with each triangle how big to make the strips.  In my previous post I showed a block that I had not cut the strips the right size for the outside round.  That has happened a couple more times - it is now a design element! LOL

I have 7 more triangles to make, one more row!  I am barely going to squeak by with the Oakshott in blues and purples, I may be adding some maroons/pinks.  I think it will look fine so I'm not sweating it in the least.  I also have decided that I am not going to do setting triangles at the ends!! I think I have figured out how I am going to bind it. . . Stay tuned cuz if this works, it is going to be spectacular! LOL  I don't have any good pictures to show of it on my design wall.  I'll be sharing the finished flimsy on a post next week - hopefully Monday :)

On to Whirlpool.  The inspiration for this quilt came from a pattern called Double Shot Star that I purchased at Connecting Threads.  The pattern did not include templates (which I likely would not have used anyway, you know me haha) so basically the blocks are not going to look exactly like the pattern.  The cool thing about this block is that it can be set in many different ways to come up with a COMPLETELY different quilt!  Here are the pictures!

This quilt was given to my Nephew so I needed manly colors :)

The curved piece in the center was a pretty gentle curve and not difficult to piece.  I echoed the curve in the quilting.

Close up of border quilting.

This was the first quilt that I added a little zip by piecing the back. . . and fell in love with it!
Now here are a couple of the different layouts.  I let my husband pick the final design.  Since the quilt was for a man, I decided I'd get a man's opinion and go with it :) Personally, I like the other layouts better :)

This was my favorite.  I might just have to make this quilt again!

Example of colors being 'mixed'

I learned a major lesson in making this quilt - be very CAREFUL with the scissors and rotary cutter! At some point in the process I clipped a V shaped cut in the border. . . and did not notice it until I was quilting the border. . . UGGHH!  My fix probably was not the best. . . I satin stitched over the cut.  It works.  Not the most beautiful fix but I'd call it functional. AND finished!! :) 

Stay tuned, I will be sharing the triangle flimsy on my next post!! Linking up with Richard and Tanya over at Richard and Tanya Quilts for LIFF,  Sew Giving, hosting TGIFF. Sarah over at Confessions of a Fabric Addict for Can I Get WHOOP WHOOP!, and Lindsey over at Fort Worth Fabric Studio for Fabric Frenzy Friday and Show It Off Saturday over at She Can Sew.  If you are here from there, welcome! If you haven't been to these linky parties, check them all out for a HUGE dose of inspiration and join the fun!! :)

Until next time, keep on quilting!

 Follow on Bloglovin


Monday, March 3, 2014

Triangles Log Cabin Style

Happy first week of March! Can you believe it?? I can't.  Don't blink, you'll be hearing bells ringing, carolers caroling and ho ho hoing ;) OK, that might be stretching it.  

I have been working on triangles (inspiration came from Lady Havartine's log pyramid QAL) and have taken pictures of the steps involved in making a log cabin triangle.  This is short and sweet but picture heavy.  We all like looking at pictures right? Let's just jump right into this shall we? :)

First here is a picture of what the triangles will look like when they are finished:

Oakshott cottons and Kaffe Fasset
These triangles finish 12" from tip of triangle to middle of bottom of triangle.  I'm going to be right up front here folks - I suck at math and I am even worse with Geometry. . . the ONLY reason I did not fail high school geometry (that was way too many years ago to count at this point) was because I cheated. Yup, I admit it, I did.  My accomplice shall remain anonymous, she may have things to lose if I call her out ;) Why am I telling you this?  Well, because if you can't fly by the seat of your pants, need precise measurements and requirements - this ain't the post for you LOL  I am totally improving this quilt and I'll prove it a little later haha

I am using the Creative Grids 12" 60 degree triangle ruler (LOVE)


First (and this is your first decision and the first place I'm not going to give you precise direction), decide how big to make your middle triangle.  I have found, through trial and error, that a middle triangle somewhere between 3" and 4.5 inches generally look the best.  I did one that had a 7" middle triangle (picture above on the left) and I think it is a little too large.  I am making my middle triangles different sizes.  If you made them all the same size, you could figure out the remaining strip sizes and could cut everything all at once. . . would be a HUGE time saver.  Decide the middle triangle size and cut triangle.

Second, (yup, your second decision) decide how wide to cut the first 'log.' I have been cutting my middle strips between 3/4" to 3". . . My print strips are all different widths.  Again, if you decided to make them all the same width, this would be an awesome candidate for chain piecing. 

Now that you have your middle triangle cut, and have picked the width of your first log, sew the first log onto the middle triangle:


Iron the seam (I iron them open) and then trim the strip so the angle of the unsewn sides of the triangle is extended:

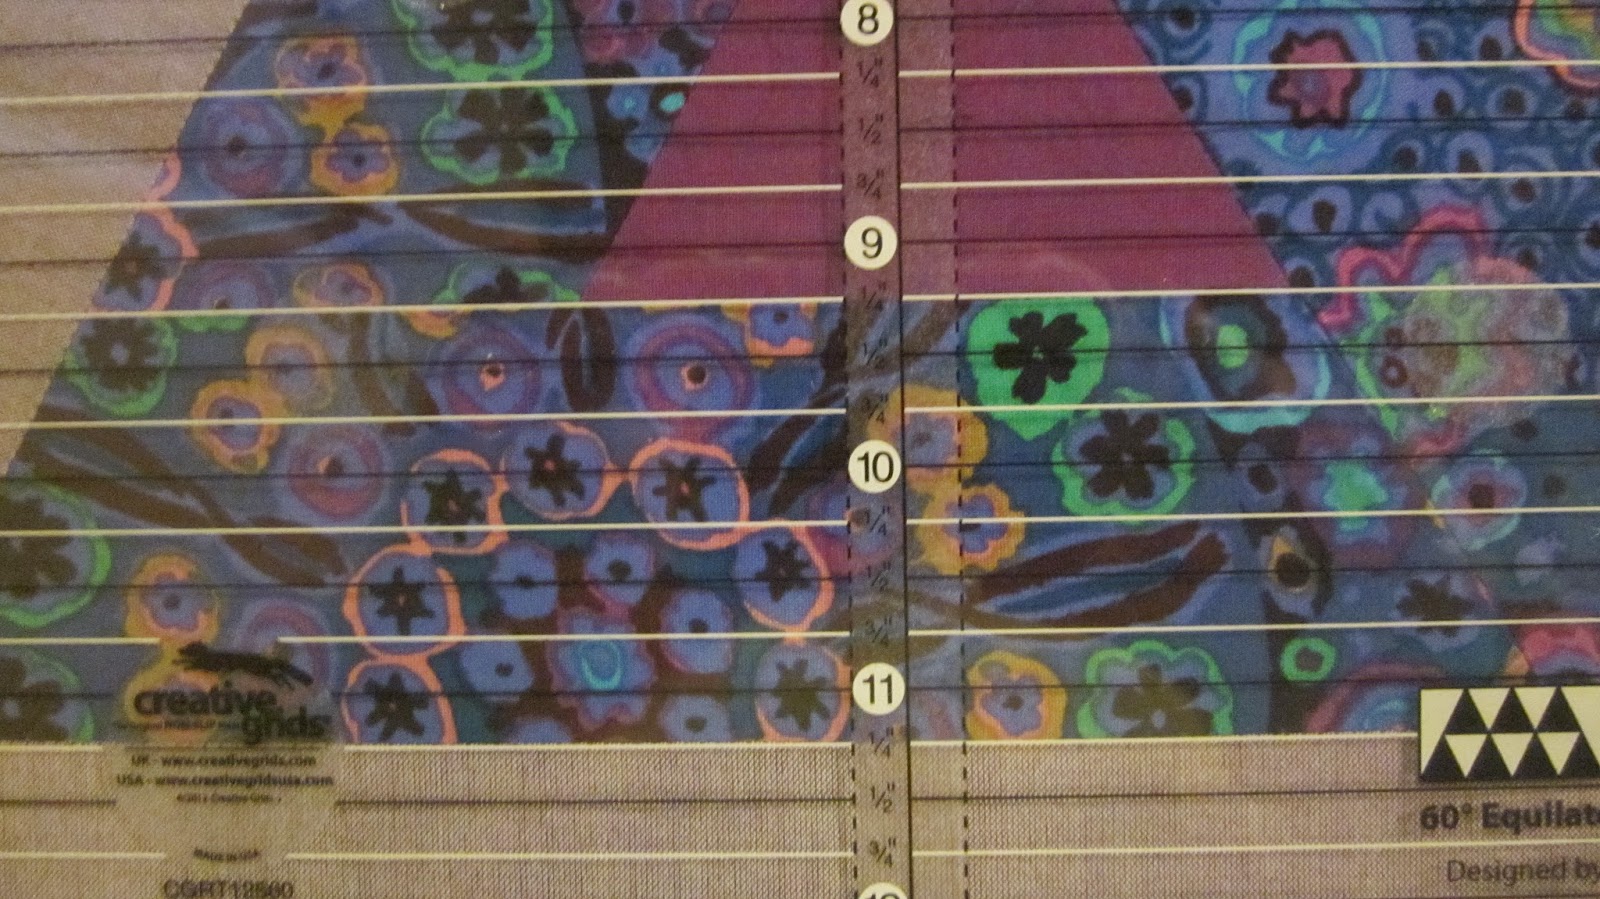
Carefully line up the ruler along the edge of the middle triangle.
Trim both sides, now you are ready to sew on second strip.
When sewing the strips on, make sure that you have enough material on both sides so that when it comes time to cut the angle, there is enough fabric to complete the angel.

Someone adept in mathematical things could tell you exactly how long the fabric strip needs to extend from the triangle... I just wing it :)
Repeat trimming of both sides of triangle for all three of the strips.
All three sides of the first logs sewn.  Now it is time to figure out how wide to cut the outside logs.  THIS step has fewer choices. . . and I still fly by the seat of my pants but it has cost me... grin I put my ruler over the triangle and figure out how big the strip needs to be to fill out the triangle (that's technical huh? LOL).  I would just say that it is better to have a wider strip and have extra than to have less and then have to decide rip it out or have a wonky triangle. . . kind of like this:

I made up the difference with a wider last strip. . . Not sure if this is going to make it into the front of the quilt . . . the more triangles I put up on the design wall, the less noticeable it is ;)
Once you decide how wide your second round of logs will be, sew on in the same way the first logs were sewn.  I have been a little obsessive about making sure that I start the first log on the same side as I did the first log in the first row - I don't really think it makes that big of a difference.  Really, do we think anyone is going to study this quilt to the point that they notice that I did not start the logs on the same side and go in the same direction?? The answer is no.  I know I'm being a freak, don't judge, just let me be with my freak on LOL 
Add the second log, same as the first.
Once I have strips sewn, ironed and trimmed, I give the block a hit with a spritz of starch and an iron. Take it back to the cutting table to 'square' it up.  Set the ruler on your block just like you would if you were squaring up a square block.  A couple of markings to pay attention to:

Make sure the MIDDLE solid line (not the dotted seam line) runs right through the point of the triangle.
Make sure the seam line is parallel to the lines on the ruler.  This will ensure that your block doesn't end up looking wonky.
If all of this is as clear as mud and you have questions, send me an email or leave me a comment!  

I have 13 triangles made.  I have not decided how wide or long I am making this quilt yet - hey, I told you I was flying by the seat of my pants! I am going to keep making blocks until I run out of material.  That is my determining factor. . . I LOVE making these blocks and we all know I am not a pattern follower so this process fits me well.  Here's a bad picture of what is on my design wall this morning:

I've been kind of deciding on the colors for each block as I go, pulling from the stack of Oakshotts and Kaffe Fasset prints that I pulled for the quilt before I started.
 Another admission - I have not figured out exactly how I am going to make those half triangles at the end. . . It will be some type of adaptation of what Lady Havartine did for her half triangles. . . :)  When I get there, I'll take pics and tell you how I did it.

After taking pictures as I went and writing this up, I just want to send out a HUGE thank you out there to anyone who writes tutorials on their blogs - this has been time intensive and I did not go into great detail.  Thanks to the ladies and gentlemen of blog land that share their knowledge freely on their blogs!! I have an even deeper appreciation for all of those tutorials out there!!

Linking up with Anything Goes Mondays being hosted by Valerie over at Val's Quilting Studio, Design Wall Monday over at Patchwork Times, Linky Tuesday with Connie over at Freemotion By the River, Fabric Tuesday over at Quilt Story, Lorna over at Sew Fresh Quilts for Let's Bee Social and Lee over at Freshly Pieced for WIP Wednesday.

Until next time, keep on quilting!!

Follow on Bloglovin