
HSTs. . . I am officially obsessed! SO many options, so little time! Haven't given that much thought? Me either. . . until now. Check out this site 'Easy Triangle Quilting Patterns' to get a major dose of inspiration and OMG I have to try thats! (I know thats isn't a word but that is what I said in my head) I may or may not have spent hours on this site and have a plan brewing for the next quilt!
There are SO many ways to make HSTs and I think I've read and tried just about every one. It's not the making of them that I find challenging - it's putting them together and keeping those pesky points!! With this quilt, I was able to keep every.single.point! In the interest of full disclosure, those points don't always match up perfectly - but they are there! How did I make it work this time? First, the method that worked for me was to sew two squares together with my marked lines being the sewing lines - if I'm following a line, my sewing tends to be WAY more straight! I measured a scant 1/4 inch from the opposite corners instead of drawing a line down the middle and then a scant quarter from that line. I found this gave me a more accurate measurement.
 |
| You can see on the darker fabric, I have two lines drawn, not one down the middle. |
So now I have my lovely HST blocks all ironed (after much banging of the iron to get it to turn back on . . . GRRRR) and my straight lines are all still straight! YAY Oh, I also ironed my seams open - there's a good amount of bulk created when sewing HSTs together and I wanted to reduce that - and we all know I am an open seam kind of girl ;)
 |
| BAD iron, beautiful HSTs :D |
 |
| When you are done trimming, you should have sharp concise corners of each of the fabric pieces on both sides of the seam. . . hopefully that makes sense. . . no extra bits of one fabric or the other at the corner. . . Oh heck, if that doesn't make sense, please leave me a comment or email me, I'll try to 'splain that better! :) |
On to sewing rows together, this is where I struggle the most and is the step where points are lost. . . BOO for lost points! ;) I found the best way for ME was to put a pin directly through where the seam should be to keep those points. The pin is perpendicular to the fabric, not laying flat. I would put the pin in place when I was about 4 to 5 inches from the needle. I then hold that pin in place until I got just to the needle. Now, this requires a little bit of practice and fenagleing (not sure that is officially a word, but it is officially a word in my world! LOL) - it is easy to be applying too much pressure and have that pin slip down to the feed dogs. . . believe me, you DON'T want that to happen! I was also a little sad because this does tend to leave scratch marks on the bobbin cover - I'm going to deal with that because the results made it worth it to me! Disclaimer here, by doing this, there is a potential to totally mess up the timing on your machine if the pin slips down into the feed dogs. I'm not responsible for any damage this might cause ;) I'm just sharing my daring (probably not so smart in terms of what could happen to the machine) ways with you that worked for me. Try at your own risk!
I tried pinning, not pinning and doing what I described above - doing what I described above resulted in the BEST outcome each and every time.
If you have hung in there this long, congratulations! I said I had a lot to say! LOL Three more things. . . Chain piecing. I have to admit, I have not been a fan. . . I've been slow to jump on the band wagon. . . that all changed with this quilt! From sewing the squares together to sewing the quilt top together, I chained pieced this one. I.am.a.convert! Everything went together SO much faster! I admit, sometimes I am a slow learner! LOL
Second, sometimes the very first layout put on the design wall - is the best! I'm still in shock that I actually left the first go as it was an just sewed it together!
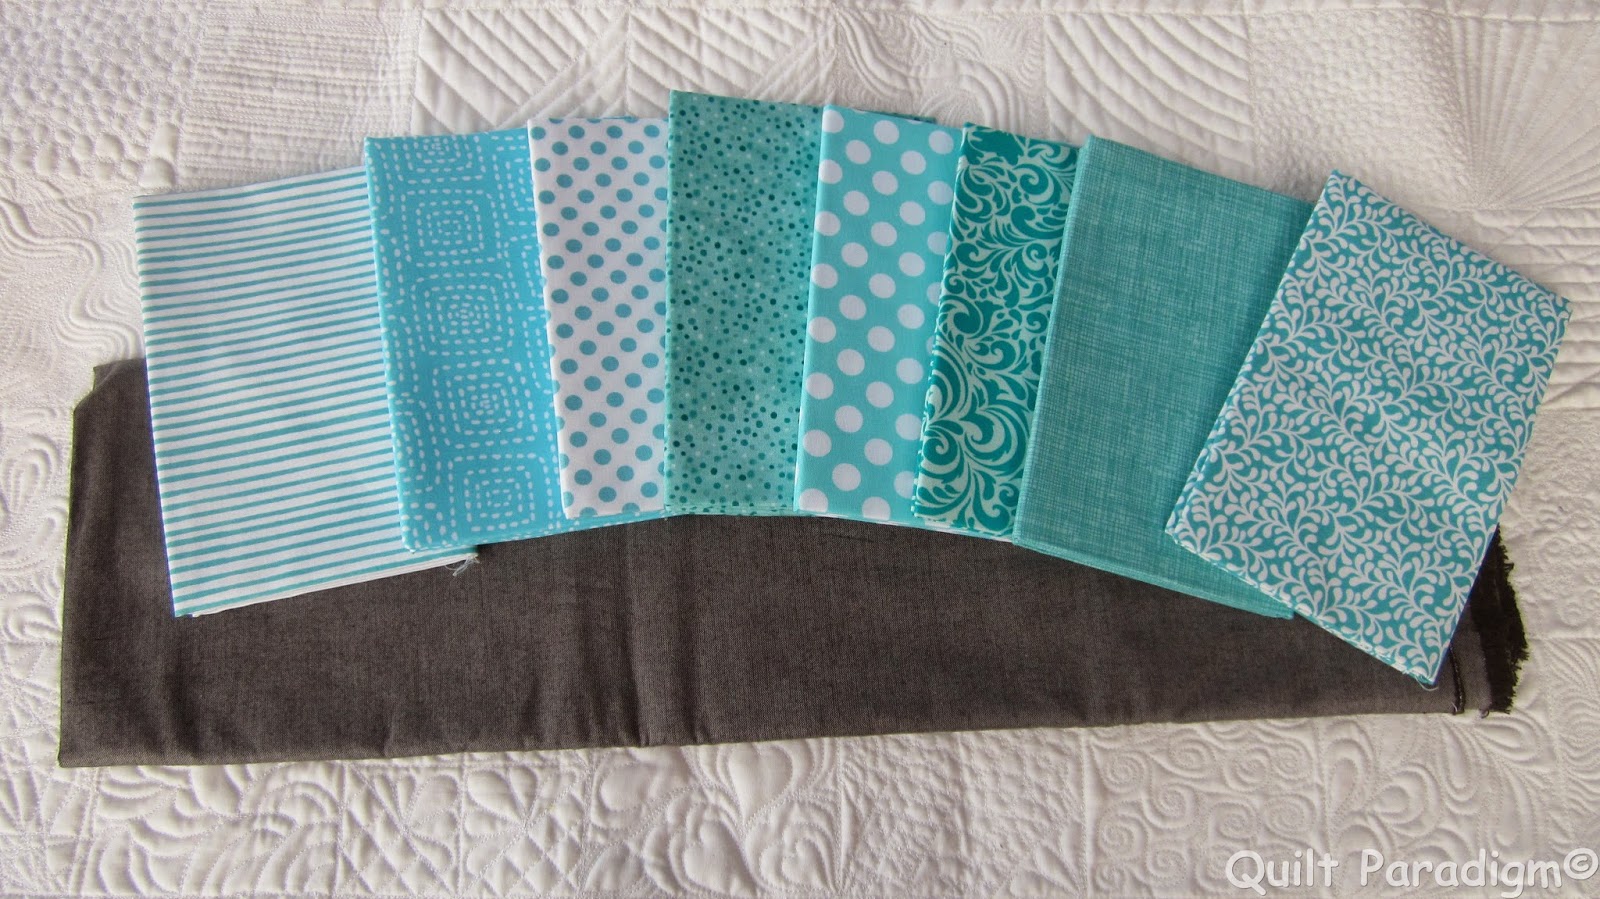
And third, Peppered Cottons (the dark grey is Peppered Cotton) - I had heard stories about issues with fraying. I had none. I am going to attribute this to the fact that I SOAK my fabric with starch prior to cutting. . . I mean SOAK. :) I did not pre-wash - I don't pre-wash anything.ever. Also, make sure that you order enough fabric to finish your project. . . Because I had intended these fabrics for a different quilt, I was a fat quarter short of being able to add an additional row to the length of the quilt. . . I had a fat quarter from a bundle of Peppered Cottons that is waiting for it's turn to be cut up into a quilt. The colors were not.even.close. I was going to add the row using the fat quarter anyway, and my husband (who doesn't typically have strong reactions one way or the other) said "Don't do it!" OK, message received and I actually complied!! ;)
There you have it, all of the things I learned about sewing with HSTs :) An update to the status of the top - The backing is pieced and I was able to use almost every usable scrap of fabric! This is definitely going to be another reversible quilt - LOVE that! :) I spent the day yesterday doodling. I'll spend today and probably most of tomorrow quilting. . . I am definitely on track to finish the quilt by Friday. . . and then I can start pulling fabric for my next HST adventure!! :D
 |
| One of the many pictures of Twirling Aqua posted here. |
Until next time, keep on quilting!


.JPG)


.JPG)
.JPG)
.JPG)
.JPG)
.JPG)
.JPG)
